

Welcome to our AquaEasy Stainless Steel Gravity Water Filter System set up page.
Below is the video to guide you through setting up your AquaEasy Stainless Steel Gravity Water Filter.
Follow the steps shown to ensure a smooth and efficient installation process. This video will help you set up your AquaEasy Stainless Steel Gravity Water Filter easily and without any trouble.
Now, you can savor clean, filtered water in just a few moments! Cheers!
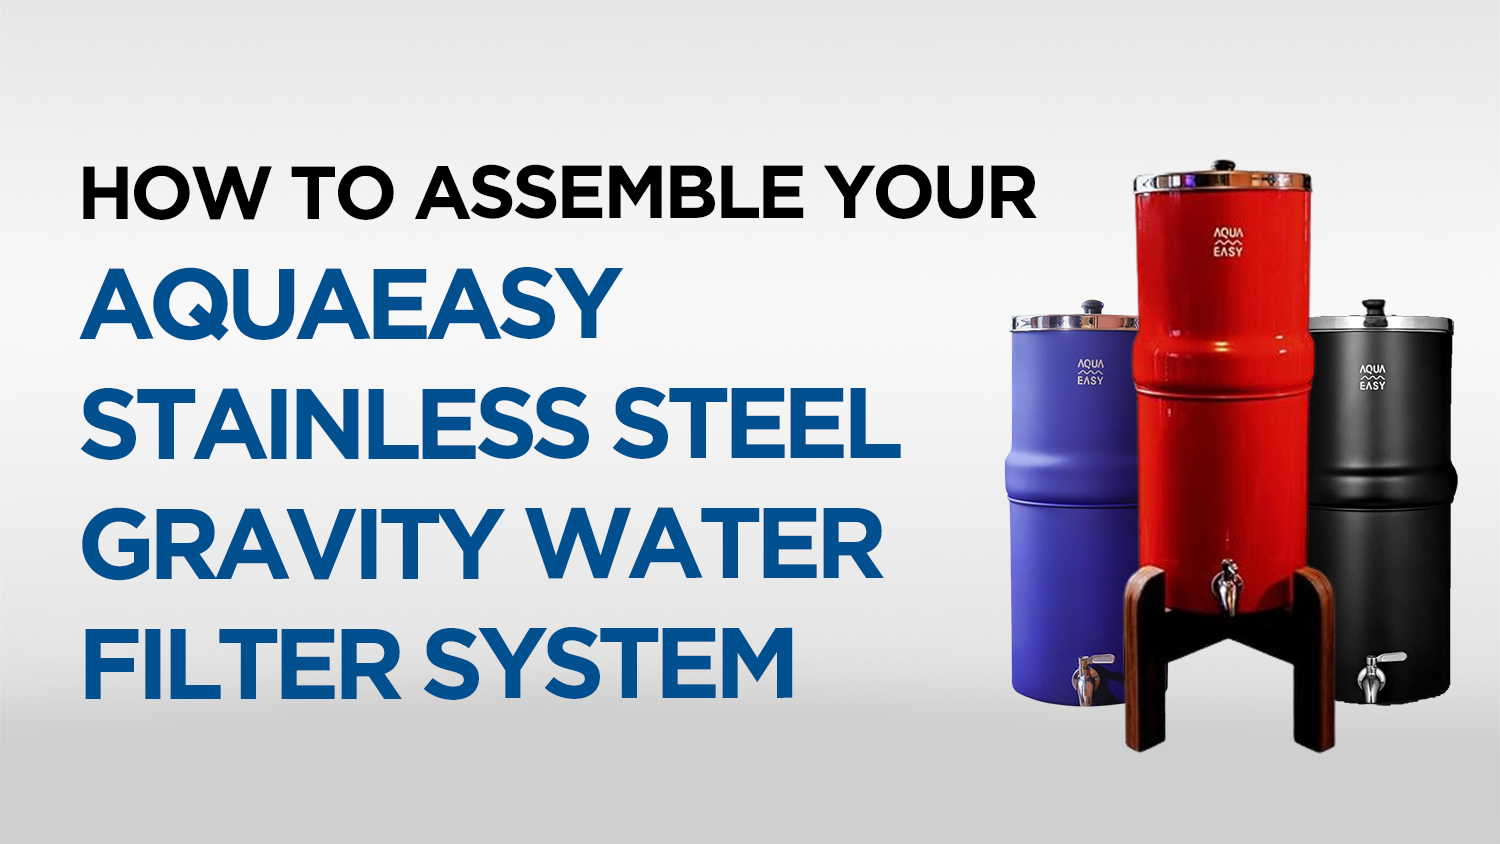
Assembling the AquaEasy Stainless Steel Gravity Water Filter System
- Install the stainless steel tap.
- Insert the cartridges into the top tank and fasten them using the wingnut.
- Install the lid.
- Assemble the wooden stand.
- Place the bottom housing into the rubber base and then into the wooden stand.
- Place the top tank and lid over it.
NOTE: FILL THE TOP TANK WITH WATER AND LET IT DRIP INTO THE BOTTOM TANK. THROW AWAY THE FIRST TANK OF WATER AND DON'T DRINK IT.
Priming the Cartridges
- Remove both the wingnut and the washer.
- Insert the wingnut back and screw it down 1/4th the way. Make sure there is enough space to insert your fingers under it. Next insert the priming washer to the end of the cartridge. The priming washer should be pushed down only till the beginning of the thread.
- Hold the cartridge tightly against the faucet. Press the priming washer upwards against the faucet to ensure a tight seal. Use your fingers under wingnut for support if needed.
- Open the water and let the cartridge flush for 2-3 minutes.