

Hi Welcome to the Installation Manual Page for the MWF 10" and 20" Big Blue Whole House Water Filter System - Single - Twin - Triple - Installation Instruction. Please find below everything you need to know about this product.
If you would like a PDF Version please click here for the PDF Download
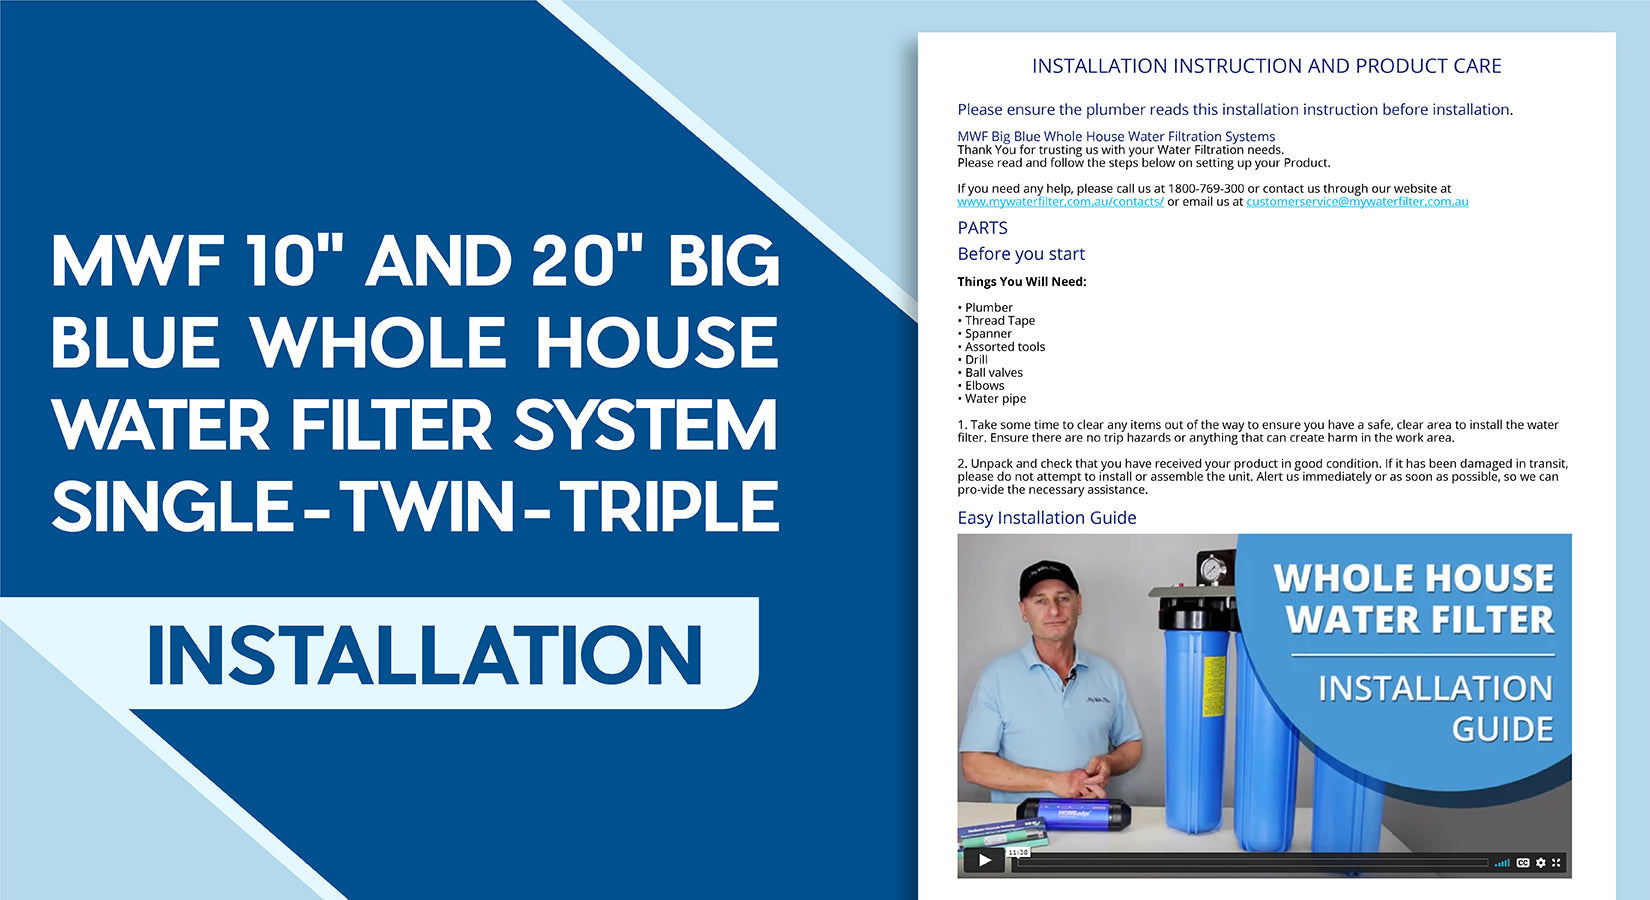
INSTALLATION INSTRUCTION AND PRODUCT CARE

Please ensure the plumber reads this installation instruction before installation.
MWF Big Blue Whole House Water Filtration Systems
Thank You for trusting us with your Water Filtration needs.
Please read and follow the steps below on setting up your Product.
If you need any help, please call us at 1800-769-300 or contact us through our website at www.mywaterfilter.com.au/contacts/ or email us at customerservice@mywaterfilter.com.au
Parts

Dimensions

Before you start
Things You Will Need:
-
Plumber
-
Thread Tape
-
Spanner
-
Assorted tools
-
Drill
-
Ball valves
-
Elbows
-
Water pipe
1. Take some time to clear any items out of the way to ensure you have a safe, clear area to install the water filter. Ensure there are no trip hazards or anything that can create harm in the work area.
2. Unpack and check that you have received your product in good condition. If it has been damaged in transit, please do not attempt to install or assemble the unit. Alert us immediately or as soon as possible, so we can pro-vide the necessary assistance.
Easy Installation Guide
Installation
1. Assess the location where the whole house big blue filter system will be installed. Look for a desirable position where the filter can be fixed securely.

2. The whole house big blue filter system bracket has 2 x holes to attach it onto the wall. Fix the water filter onto the wall or frame with strong screws or bolts.
3. It is preferred that the whole house big blue filter system is mounted on a house wall. If mounted onto a frame, concrete the frame into the ground securely. Ensure the whole house big blue filter system is fixed to a strong structure as it will be heavy when full of water and you need to make it strong enough to handle very bad weather conditions like cyclones etc.
4. Set up the whole house big blue filter to match the flow direction. The caps are marked “In” and “Out” on the top of the housing or from left to right. These systems come pre-assembled. However, if your flow direction is right to left, the bracket must be removed from the system and needs to be turned around 180 degrees then reconnected.
5. The inlet plumbing will be attached to the “In” port on the filter system. The outlet plumbing from the whole house big blue filter system will be attached to the distribution system via the “Out” port. A bypass pipe and shutoff valve, Inlet and Outlet shutoff valves and gauges may be installed at this time.
Note: Do not use sealants on any of the threads as this will ex-pand and will cause cracks and will damage the whole house black caps. Please only use thread tape.

6. After complete installation, do not open the valve on the mains yet, fully open an outside tap nearest to the whole house big blue filter system first.
7. Slowly open the valve on the main line and let the whole house big blue filter system fill with water. Once full, water will flow out of the opened tap nearest the water filter. Allow the water to flow for 10 minutes before use. Initially, black carbon water will flow out from the tap, so you might want to collect the first black water flowing from the filter into a bucket as it will be very black carbon water.
8. Once the whole house big blue filter system is filling with water, push the red air bleeder buttons on top of the filter housings to release any air trapped inside the whole house big blue filter system. This will ensure that no air pockets are trapped inside.
9. Check the housing for leaks and repair as necessary.

NOTICE:
IMPORTANT: PLEASE DO NOT OR MUST NOT use any form of sealant on the threads of this water filter. Please ONLY use plumbers thread tape. If you use any sealants they have a history of expanding after the water filter is connected and can crack the inlet & outlet ports and they will start to leak within a day or so. Please advise the plumber or installer sealants cannot be used in any form - You can only use Thread Tape.
Maximum/Minimum Pressure
The minimum working pressure required will be determined by the cartridge type installed inside this water filter. Sediment cartridges do not slow the water flow generally unless blocked with sediments, but a fine micron car-bon block cartridge can take a bit of pressure to push the water through the cartridge. Suburban water pressure works well. The maximum working pressure is around the 80 psi mark. If you have more pressure than 80 psi you should install a pressure limiting valve before the water filter to ensure no excess pressure is exerted into the system.
Installing Gauges
Please take care when installing the gauges, please apply plumbers thread tape only to the gauge thread. Tighten taking extra care the threads have not been crossed. Tighten gauges until tight. If any gauges threads seem to be a tight fit simply turn the gauge forward as far as possible without to much force, then turn the gauge back the other way to untighten, then turn the gauge forward again until you have the gauge installed as required. DO NOT use any form of sealants on the gauge threads.
Water Flow Direction
Please note: These water filters are set up to flow the water from left to right. If you want the water filter to flow the other way you will be required to remove the bracket and turn it around 180 degrees and refit the bracket so once installed the complete water filter housing is set up correctly.
Installation Setup Diagram
Diagram 1: MWF 20” x 4.5” Triple Big Blue Whole House Water Filter System
Diagram 2: MWF 20” x 4.5” Triple Big Blue Whole House Water Filter System Complete with Hard Water Conditioner

Diagram 3: MWF 20” x 4.5” Triple Big Blue Whole House Water Filter System Complete with Hard Water Conditioner & Positive Charged Water Magnet

Diagram 4: MWF 20” x 4.5” Triple Big Blue Whole House Water Filtration System Complete With Hard Water Protection & Kinetic Water Energiser

NOTE: The 2 x tapered nipples provided with the Home Edge MUST be used to screw into the Home Edge or the warranty will not be covered, Please read instructions & warranty conditions in Home Edge box.
Diagram 5: MWF 20” x 4.5” Triple Big Blue Whole House Water Filter System Complete with GRANDER
NOTE: The GRANDER® unit can be installed right after the whole house filter for maximum water treatment. Please see Grander Installation information in the email & inside the box.

How to Change Cartridges:
1. Shut off the water supply.

2. Open a tap closest to the whole house big blue filter and allow all the pressure to empty via the tap.

3. Use the supplied housing opening tool to remove the housing by turning it anti-clockwise.

4. Once loosened with the tool, the housing can be removed by hand. Spin the housing counterclockwise. Spin until the housing is completely removed.
NOTE: If the pressure is not released, the filter housing will be very difficult to loos-en. It is imperative that the water pressure is released prior to attempting to re-move the filter housing.

5. Remove the old filter and discard. Make sure to note the orientation of the cartridges.

6. Install the new whole house big blue cartridges into the filter housings.
NOTE: You can do some preventive maintenance while doing the cartridge replacement. Lubricate the o-ring and housing threads with food grade silicone grease.

7. Ensure the cartridges center hole are seated in the stump in the base of each housing. Ensure the cartridge is centered & vertical as you lift the housing up into the head cap thread to replace. Hold 1 hand under the housing as you screw back on the whole house big blue filter housing by turning it clockwise. Do this until it is hand tight. If lubricated correctly this will screw on very easily without the tool.

8. Insert the housing tool onto the filter housing. Tighten the filter housing until firm. Do not tighten until overtightened. Do not force.

9. Do not open the valve on the mains yet, fully open the tap nearest to the whole house water filter.
10. Open the valve on the mainline slowly and let the water flow. Once the housings fill with water press the red air bleeder buttons on top of the filter housings to release the air inside the whole house big blue filter system. This will ensure that no air pockets are trapped inside
11. Let the water flow out of the opened tap nearest to the water filter for 10 minutes until the BLACK Carbon water has been flushed out and the water is clear again. You might want to collect the first flow of water into a bucket, as it may be very black water from the carbon fines from the new carbon cartridges.

12. Turn off flushing tap. Turn on taps inside the home to release any air and you are done. Inspect the work area if there are no leaks etc and all is as it should be. Clean up
Well there you have it folks. Thank you for reading our Installation Instruction and if you have any questions or have any feedback for us about this information manual, please don't hesitate to contact us at info@mywaterfilter.com.au, on our live chat or via phone on 1800 769 300.